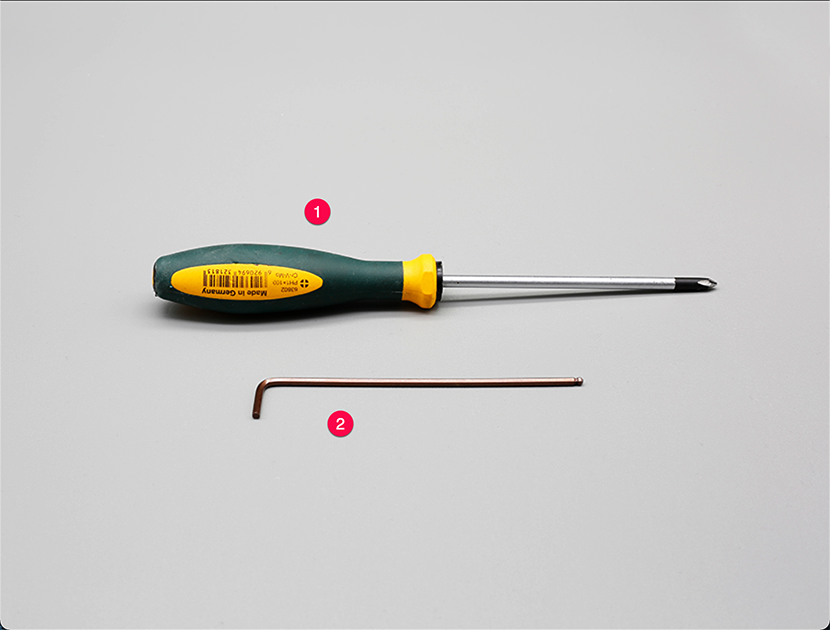
01 Prepare tools,①Phillips screwdriver;②2.5mmHexagon screwdriver (wrench)。
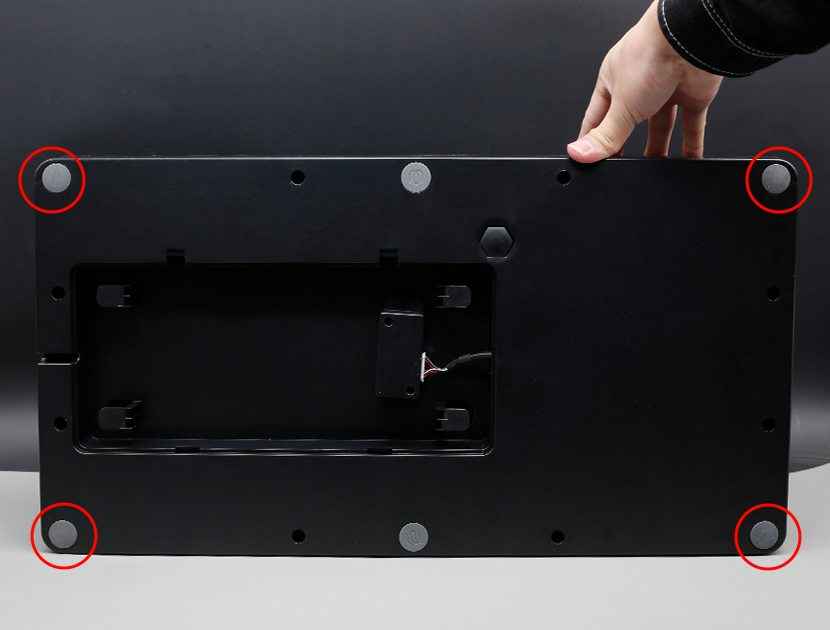
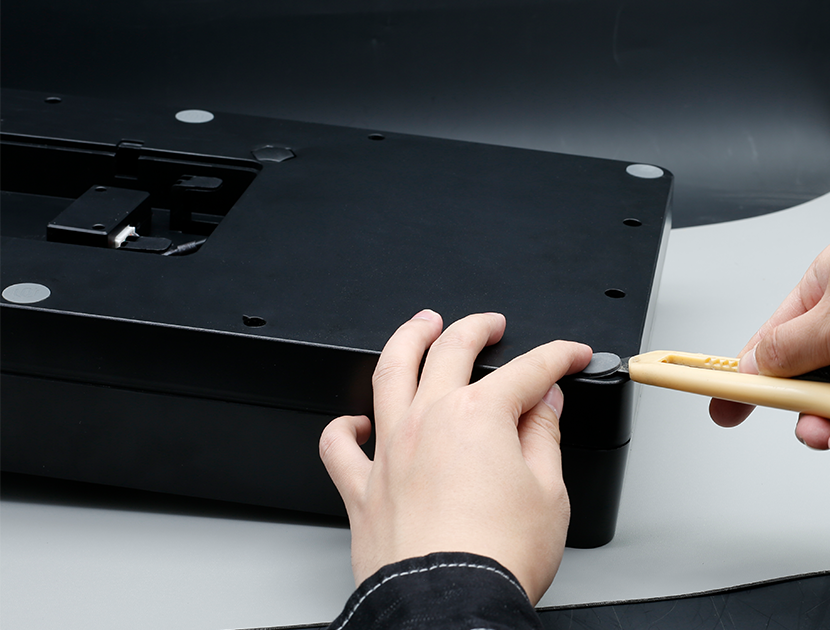
02 Pry off the four corner pads
03 Remove the screws securing the housing
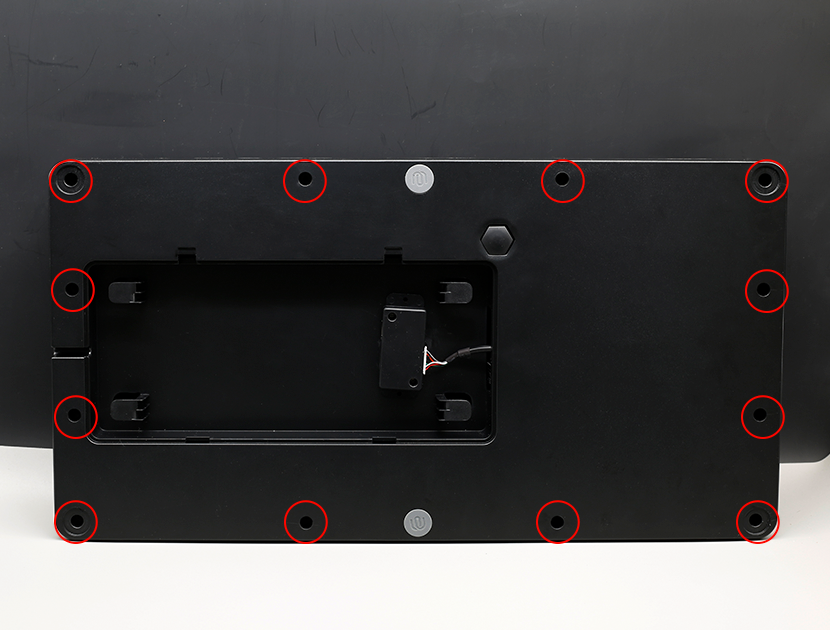
04 Separate the frame
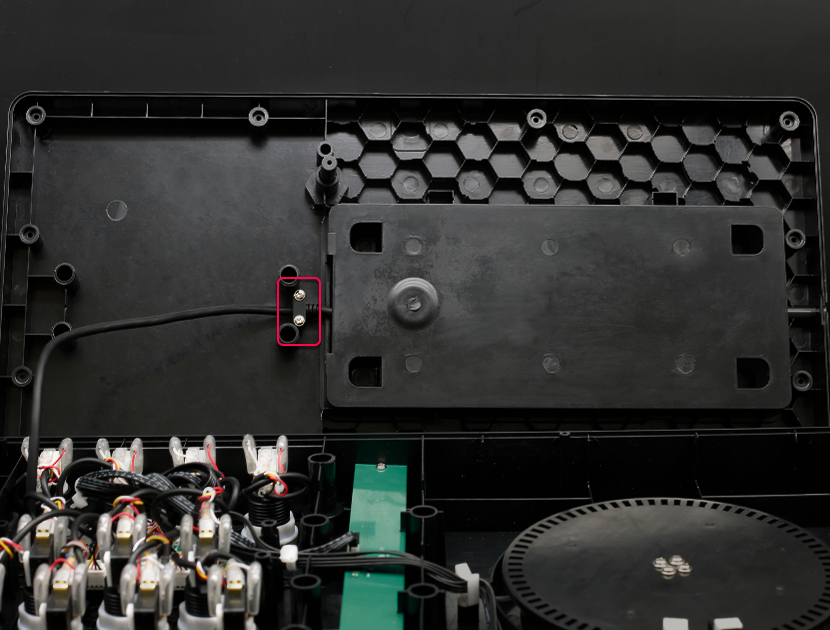
05 Remove the clips securing the cables
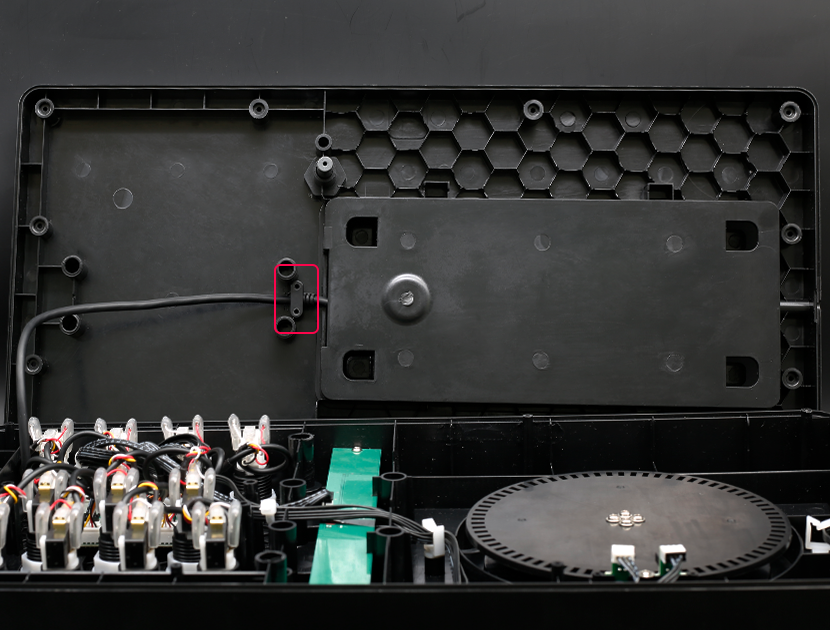
06 Remove the key panel.
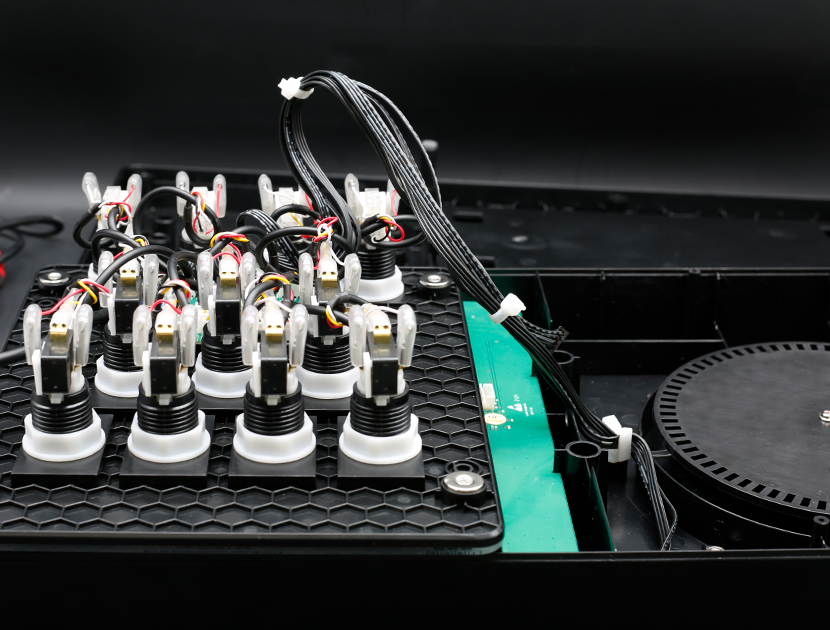
07 Unplug all the plugs on the motherboard
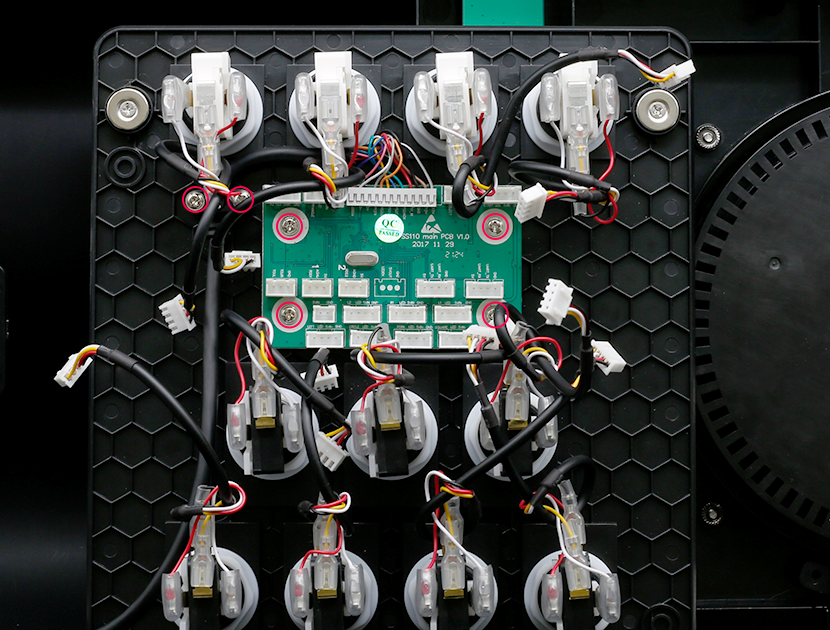
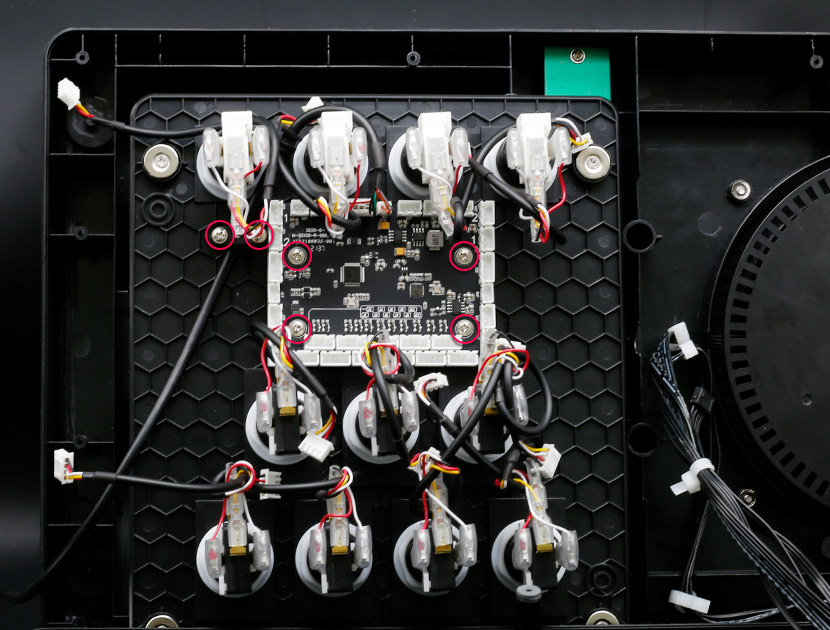
08 Remove the screws securing the motherboard
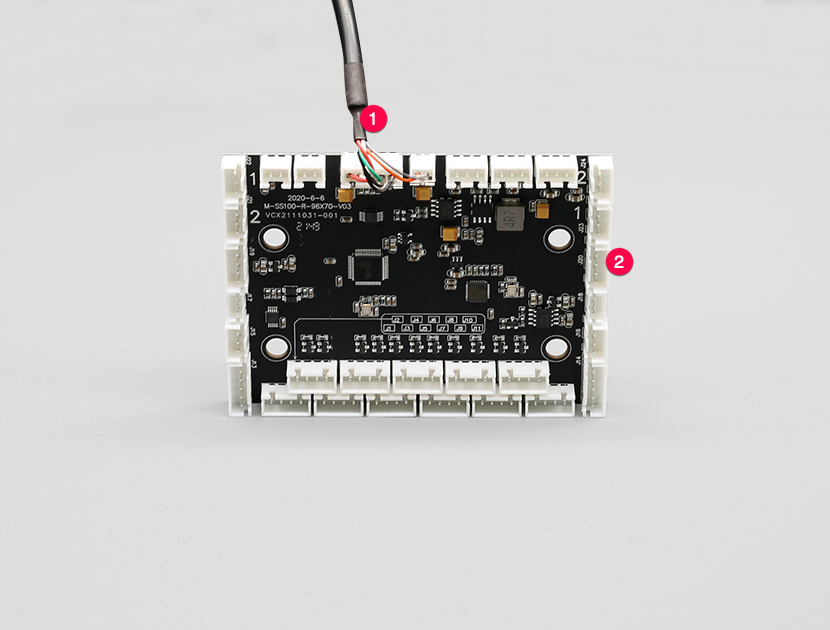
09 Prepare a new motherboard, ① power cable, ② new motherboard
10 Fasten the new motherboard to the frame
11 Fix the motherboard with screws
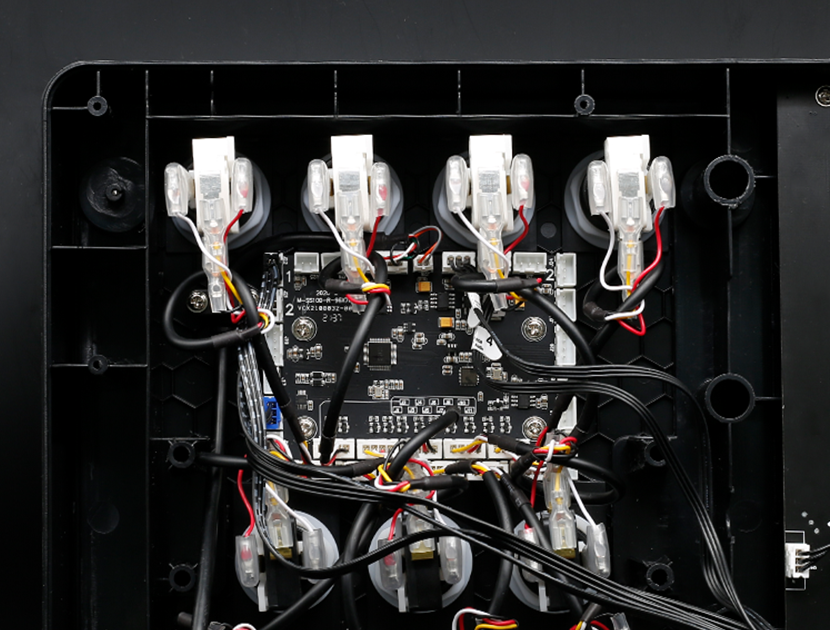
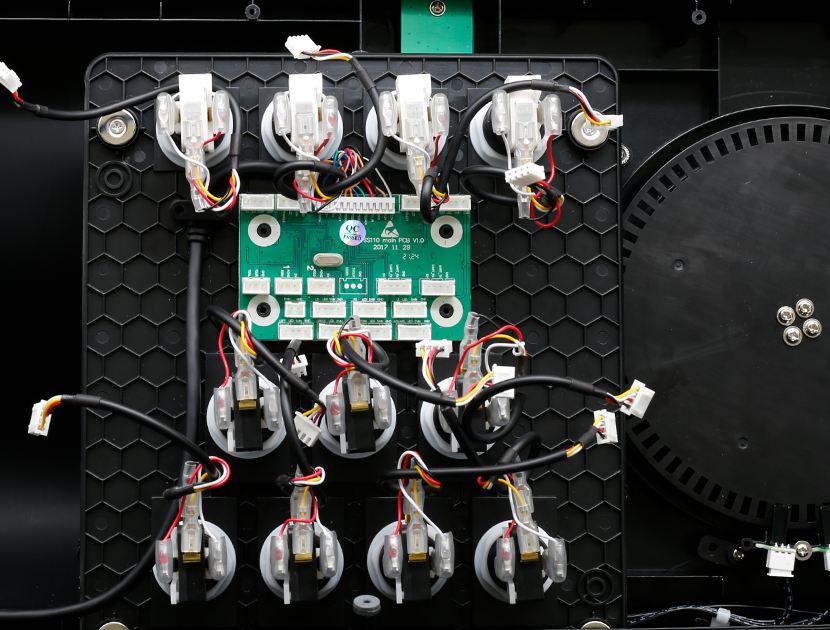
12 Connect the wiring to the corresponding position of the main board according to the following figure
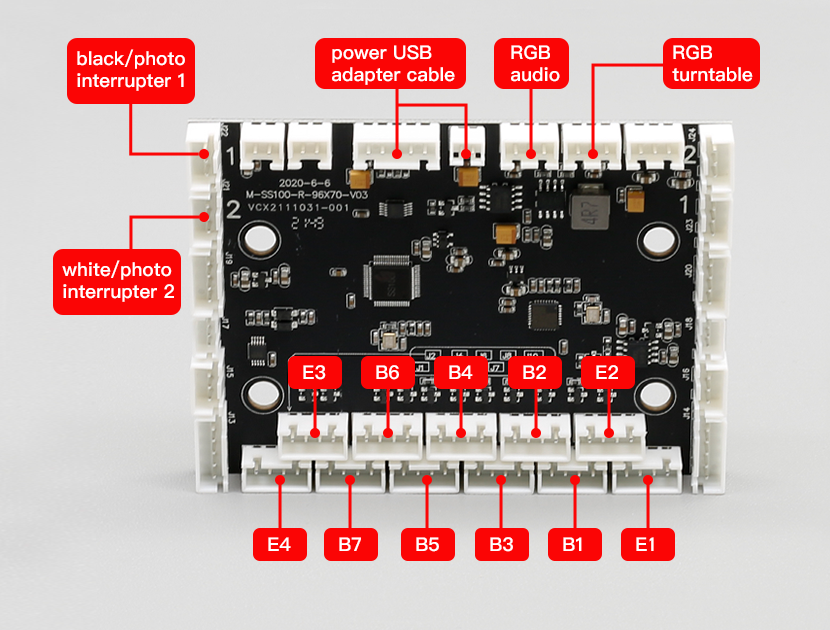
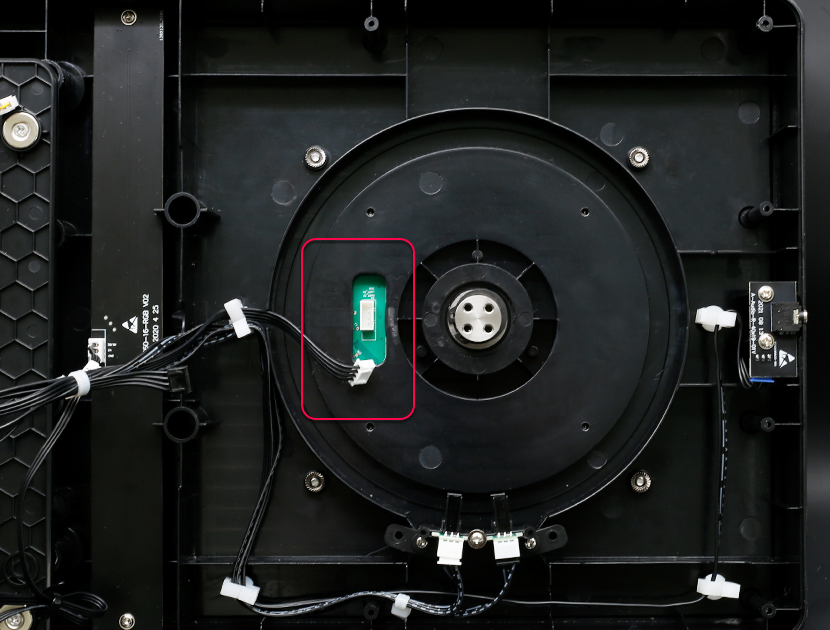
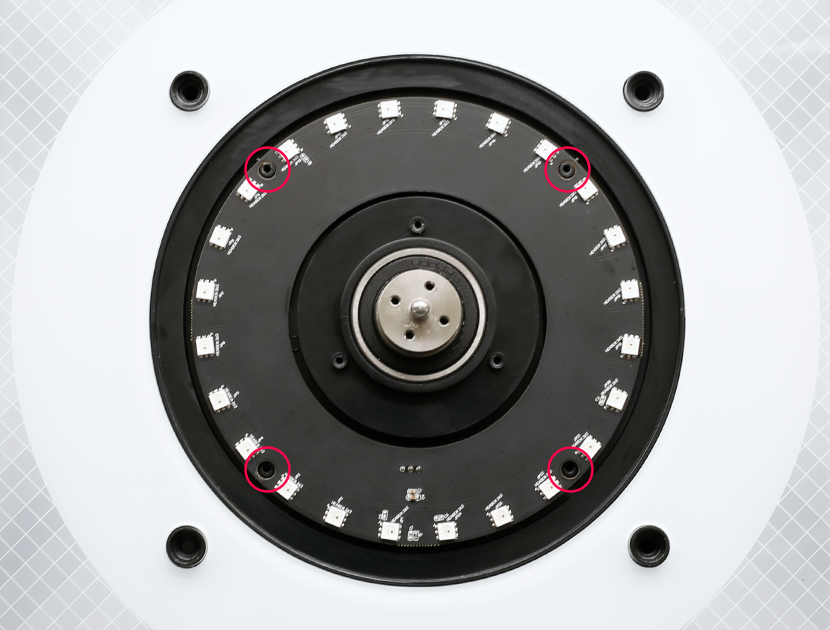
13 Remove the screws securing the audio light
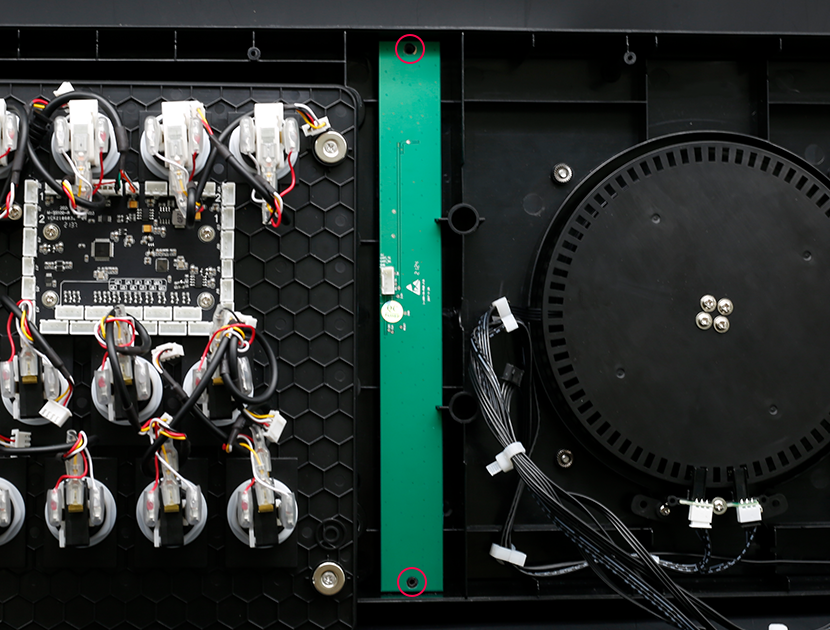
14 Remove the old audio light and replace it with a new audio light and fix it
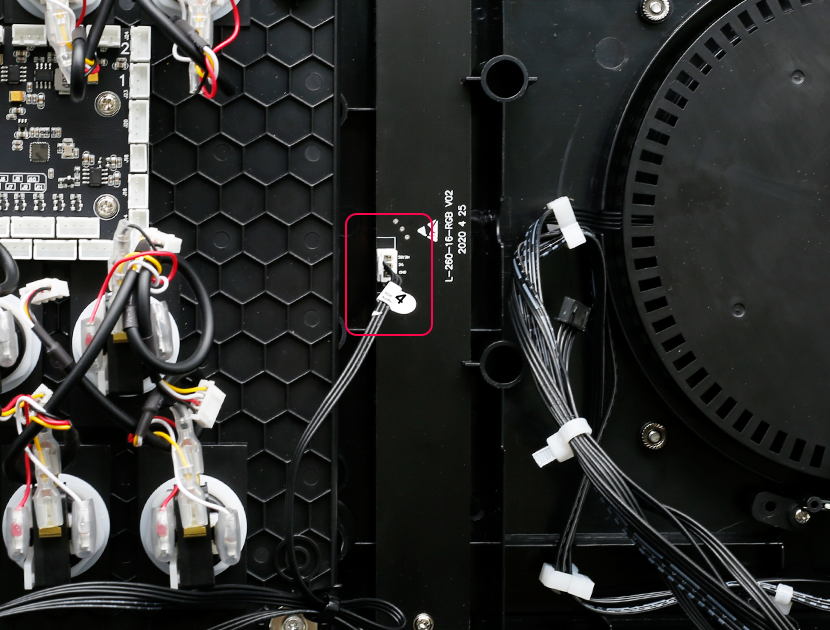
15 Please use the “4” wire harness (3pin) to connect the motherboard and the audio light
16 Remove the gear plate

17 Unplug the ring light
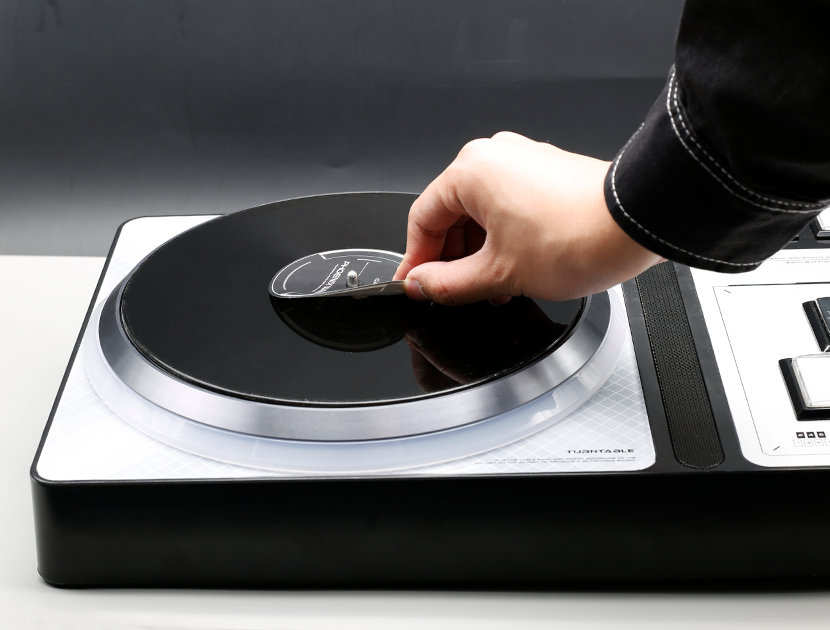
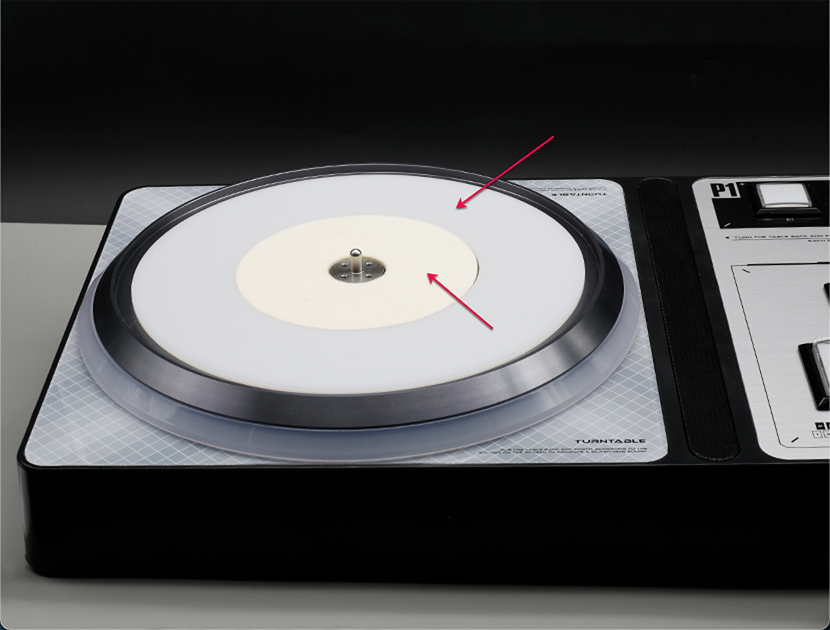
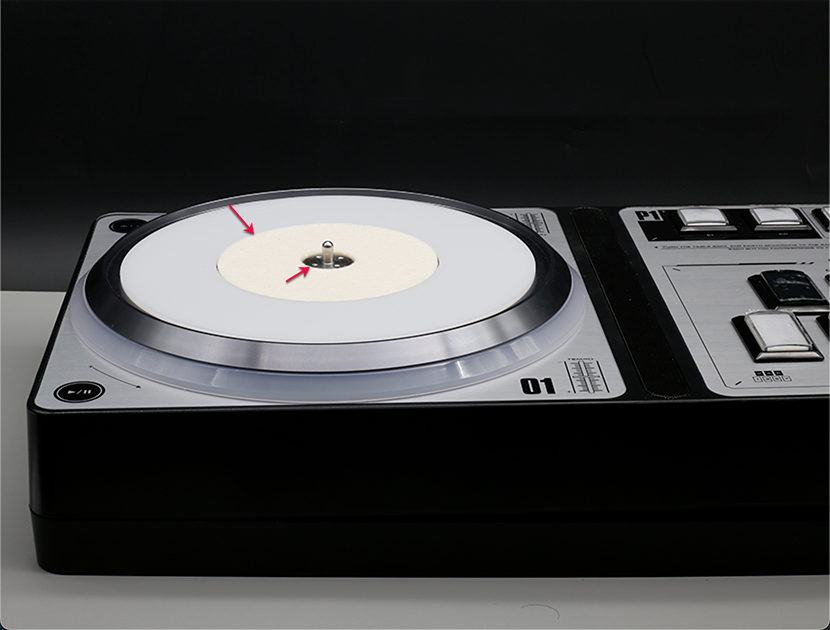
18 Remove the turntable sticker
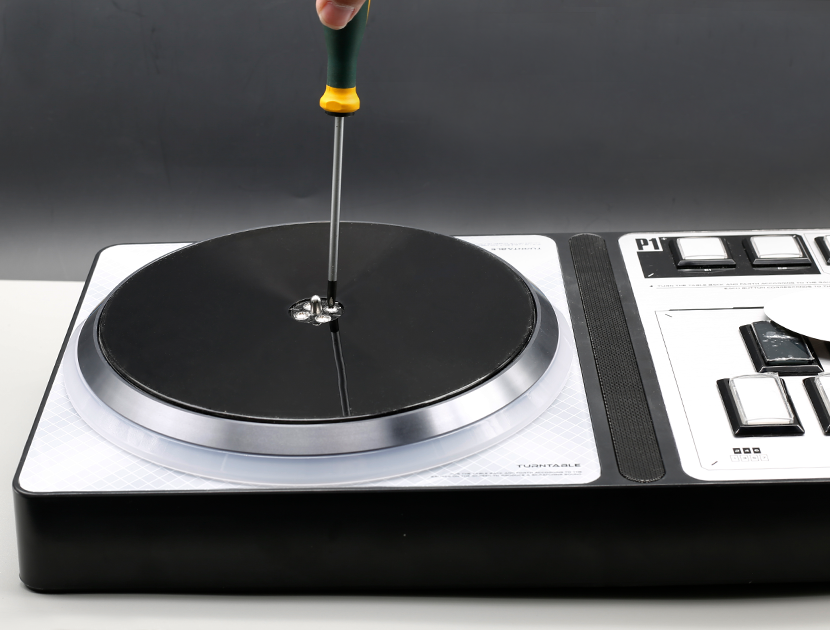
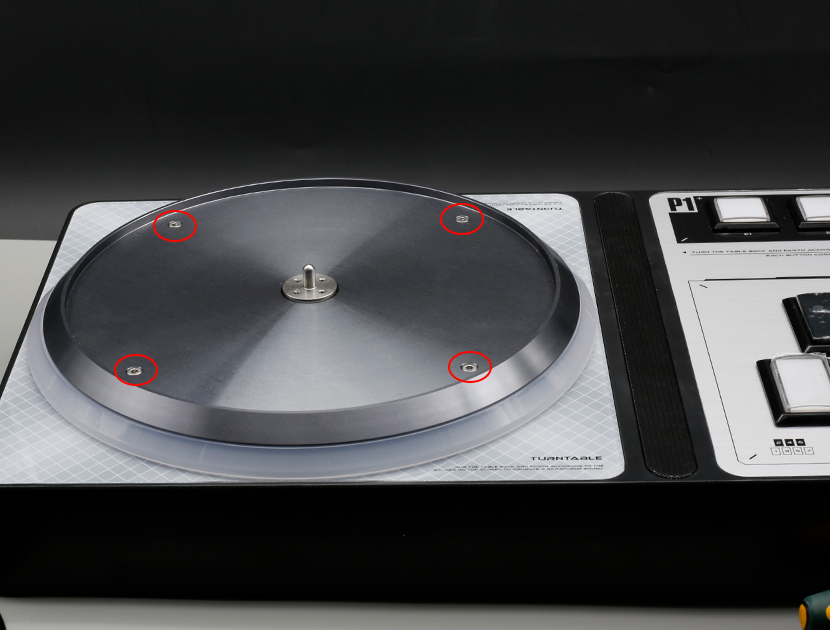
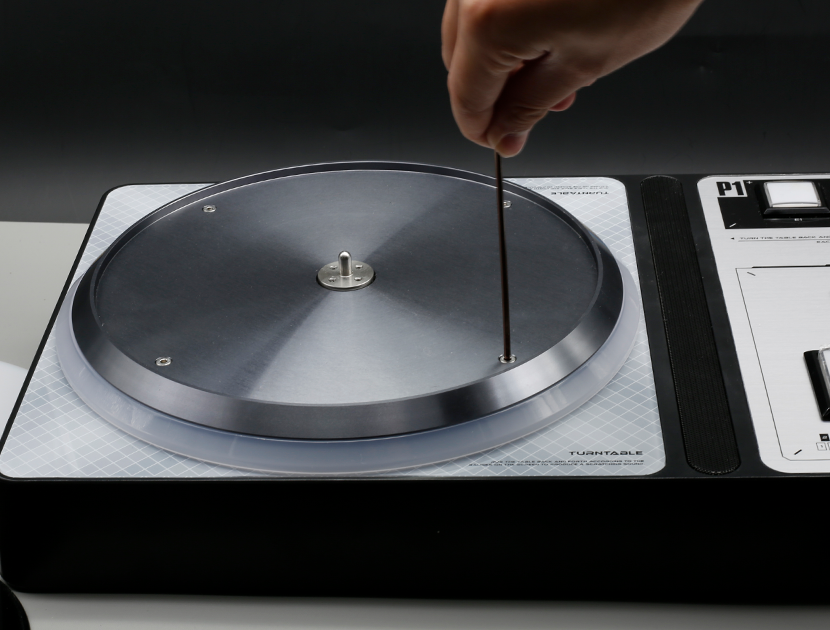
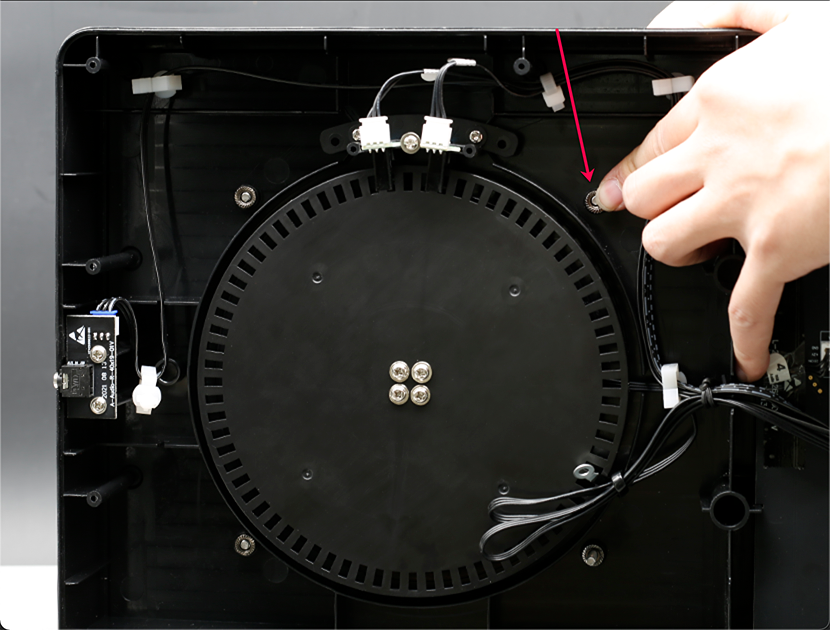
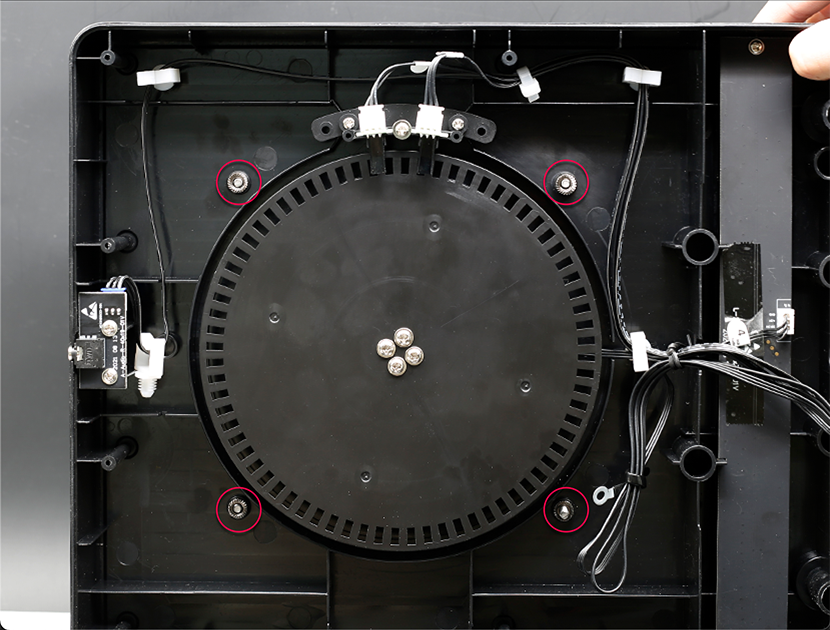
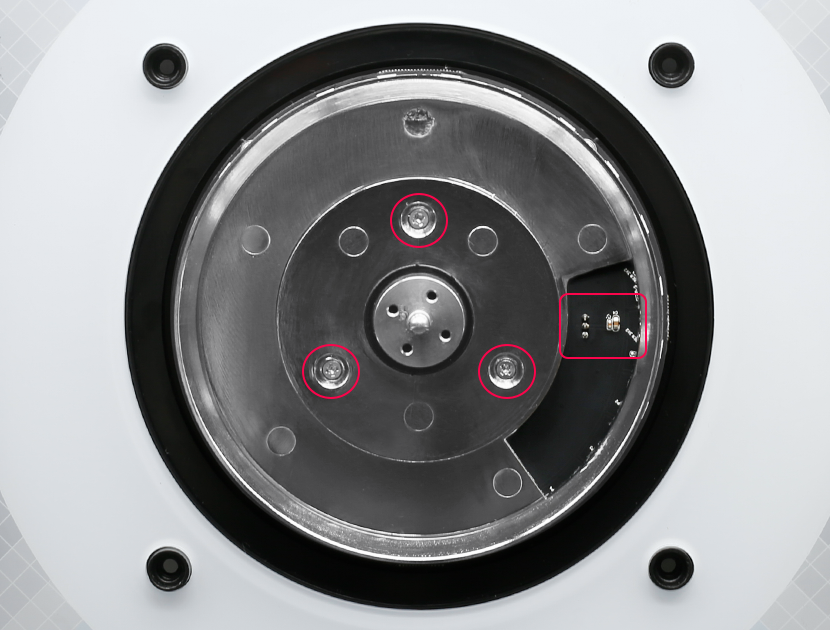
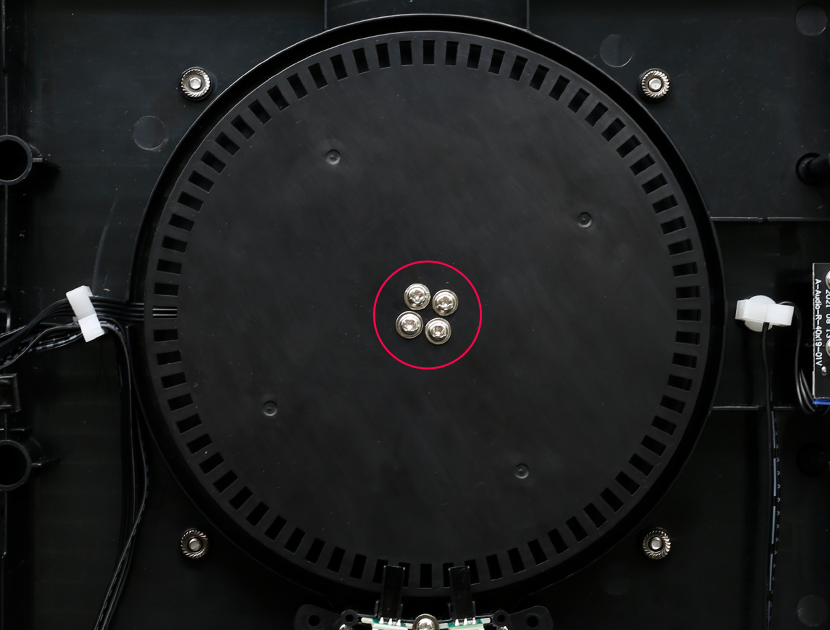
19 Remove the screws securing the turntable
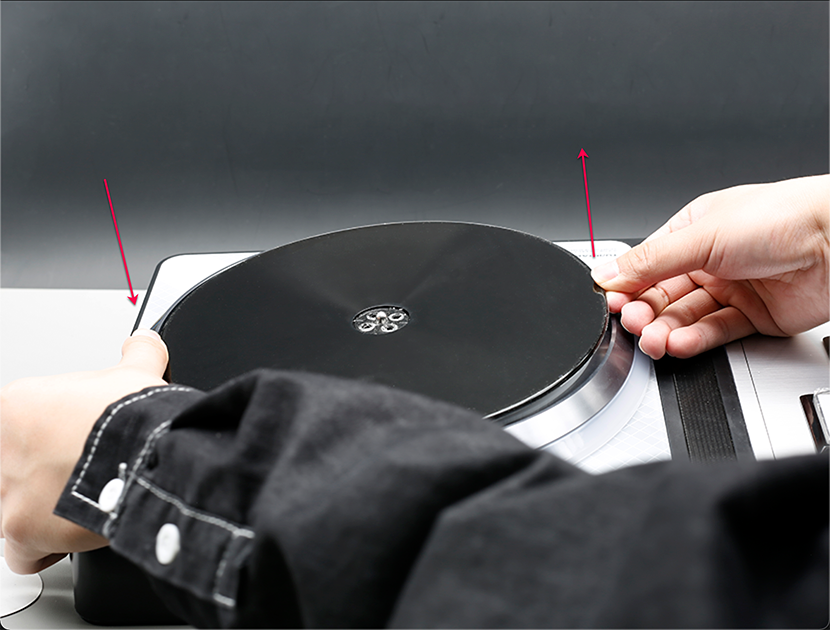
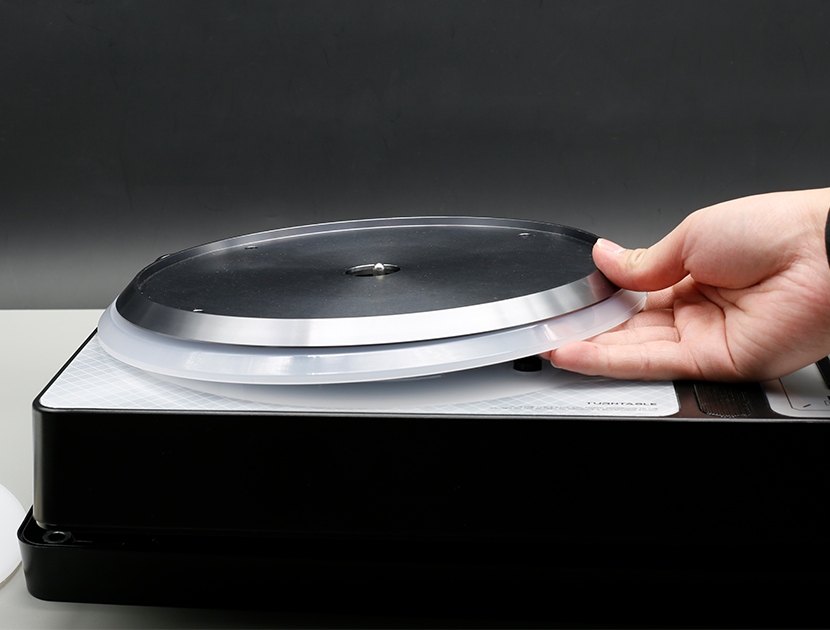
20 Press down on one side of the turntable with one hand to lift the other side, while the other hand lifts the turntable out of the raised part
21 Take out the felt and washer
22 Use a 2.5mm hexagon wrench to remove the screw fixing the aluminum plate. Please pay attention to the nut with the fixing screw inside. When removing, please hold down the nut to prevent loss.
23 Use a hex wrench
24 Hold down the fixed nut
25 The turntable part can be removed in its entirety after removing the screws and nuts The turntable part can be removed in its entirety after removing the screws and nuts
26 Remove the turntable part

27 Remove the screws and remove the silver plate
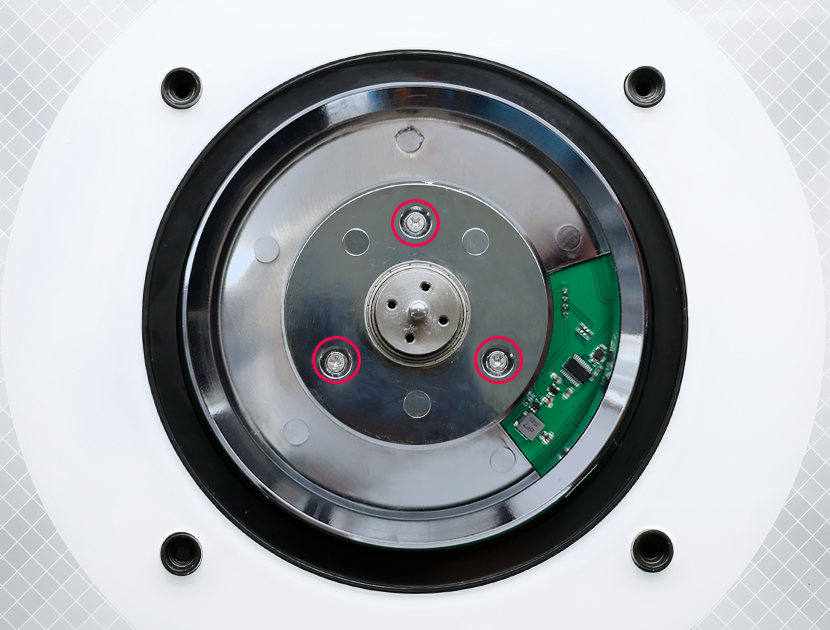
28 Remove the screws and remove the old ring light
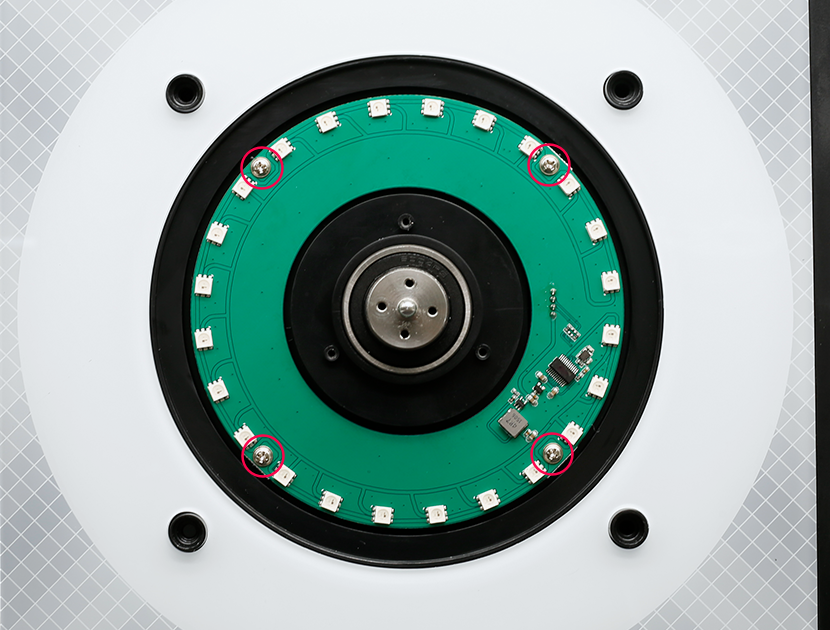
29 Put on a new ring light and fix it
30 Reinstall and secure the silver disc
31 Connect the ring light harness (wire 3) to the ring light
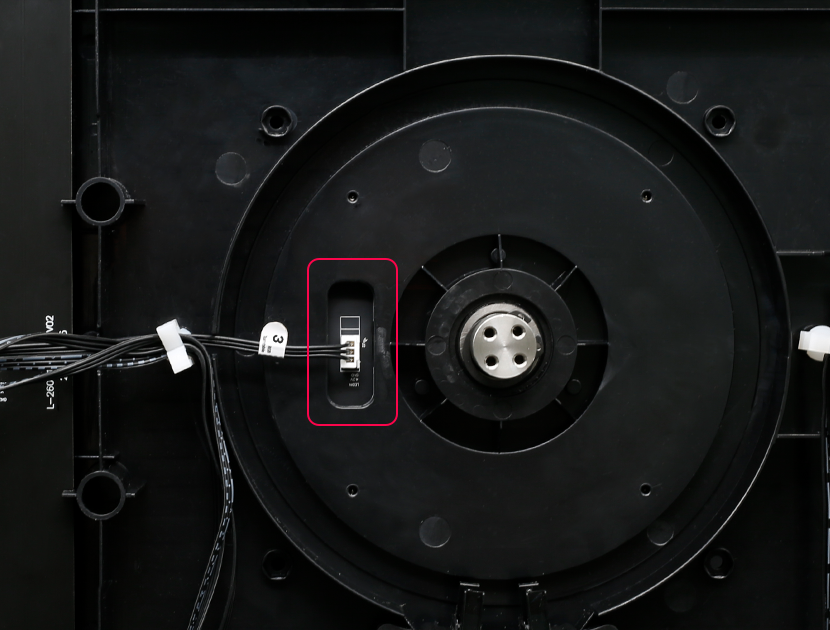
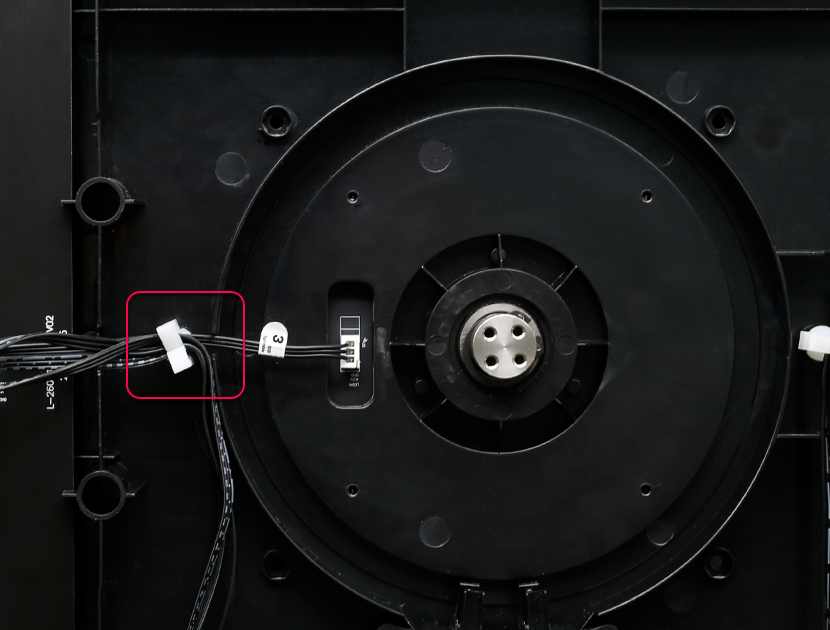
32 Note that the 3-wire should be pressed in the lower position of the clip to avoid the gear touching
33 Reinstall and secure the gear plate
34 Put the light guide ring and aluminum plate back in place
35 Tighten the screws and nuts that fix the aluminum plate (after inserting the nut into the fixed position, hold down the nut and tighten the screw)
36 Put the felt and washer back in place, being careful not to overlap
37 Put the turntable back in place and tighten the screws
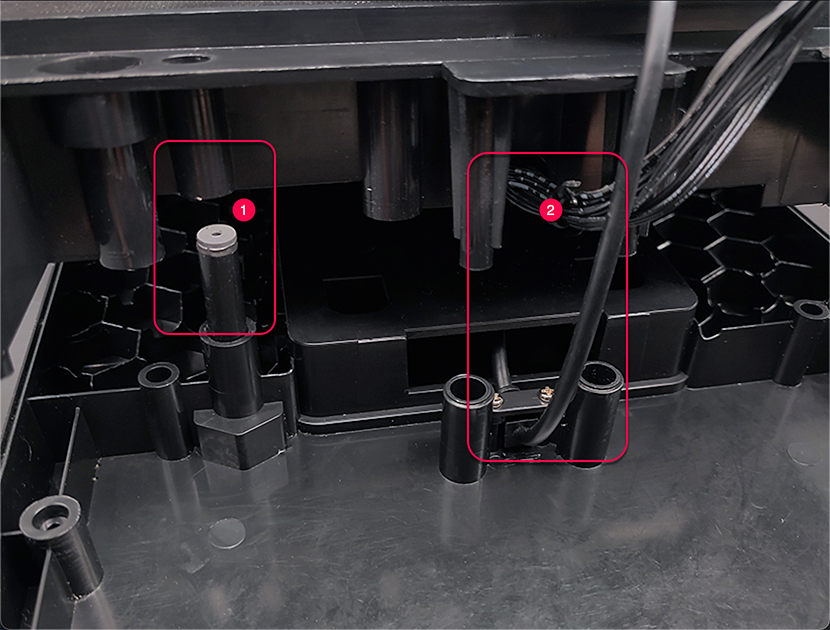
38 First remove the button panel, align the ① and confirm that the wire at ② will not be stuck, and then fit the upper and lower shells together.
39 Replace the retaining screws on the back and attach the pads to the four corners
40 Prepare the Power Adapter Box
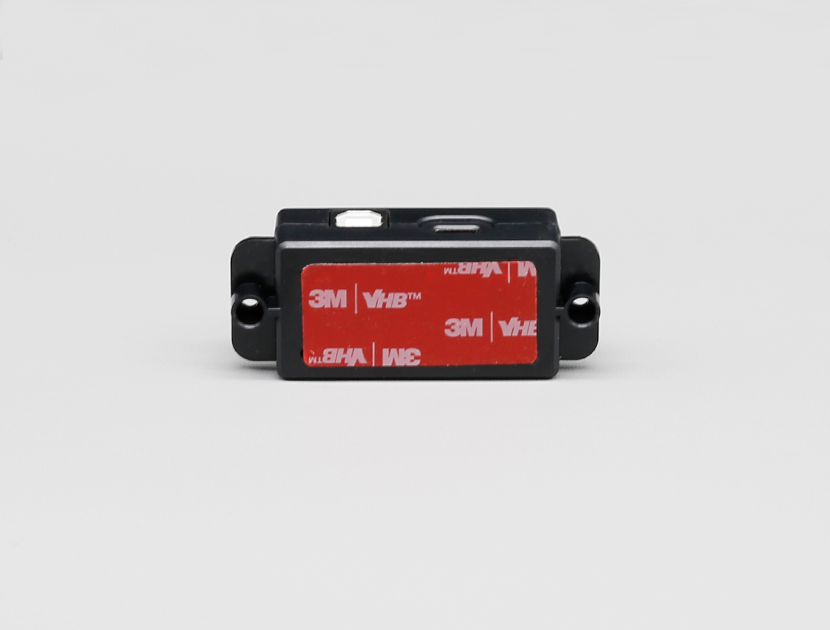
41 After tearing off the double-sided tape, install the adapter in a suitable position according to the length of the wiring
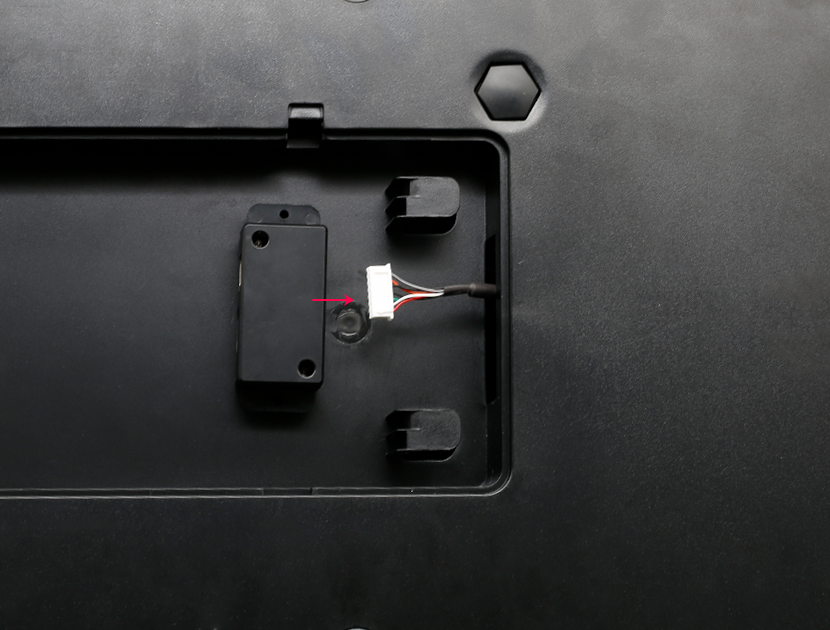
42 Connect the power plug to the adapter
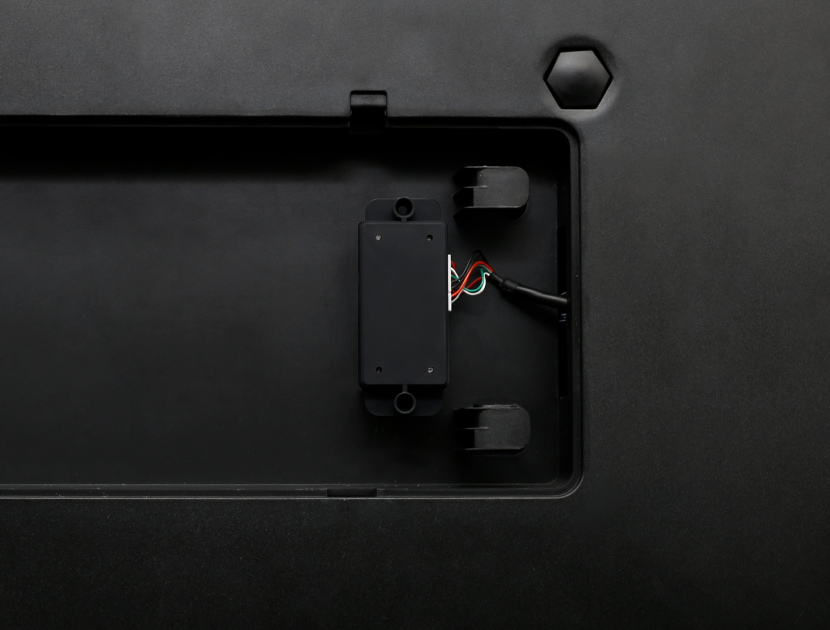
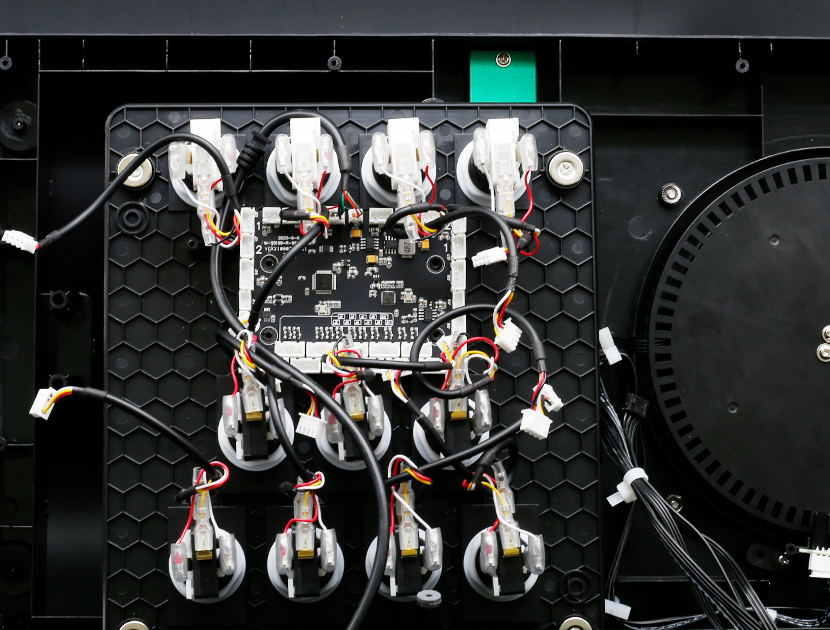
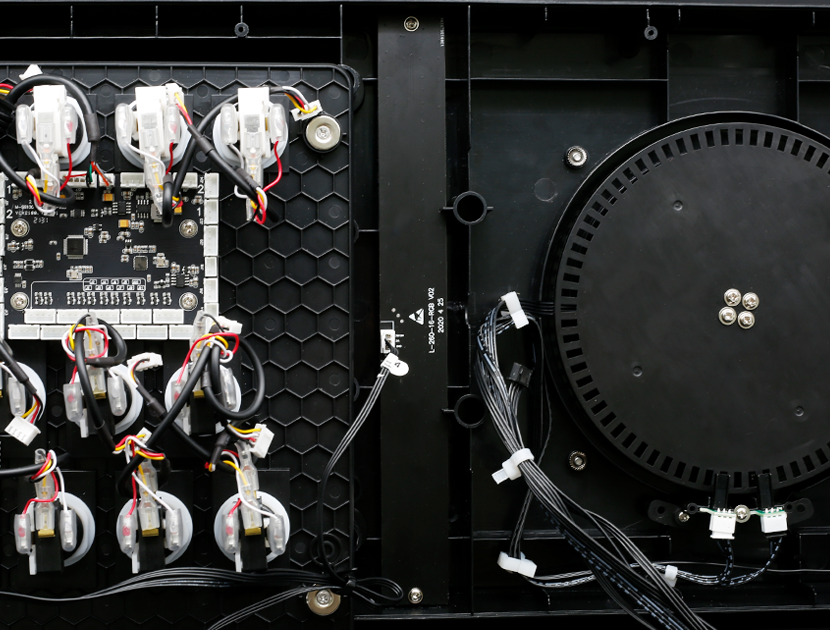
42 After all the replacements are completed, the mainboard wiring status