
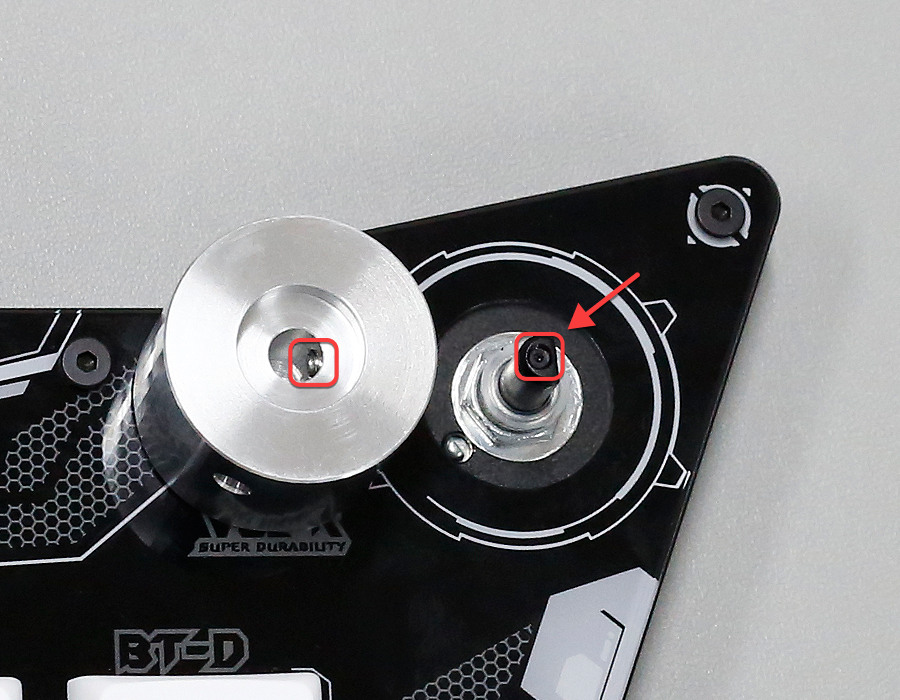
1 Use H2, inner corner disassembly knob
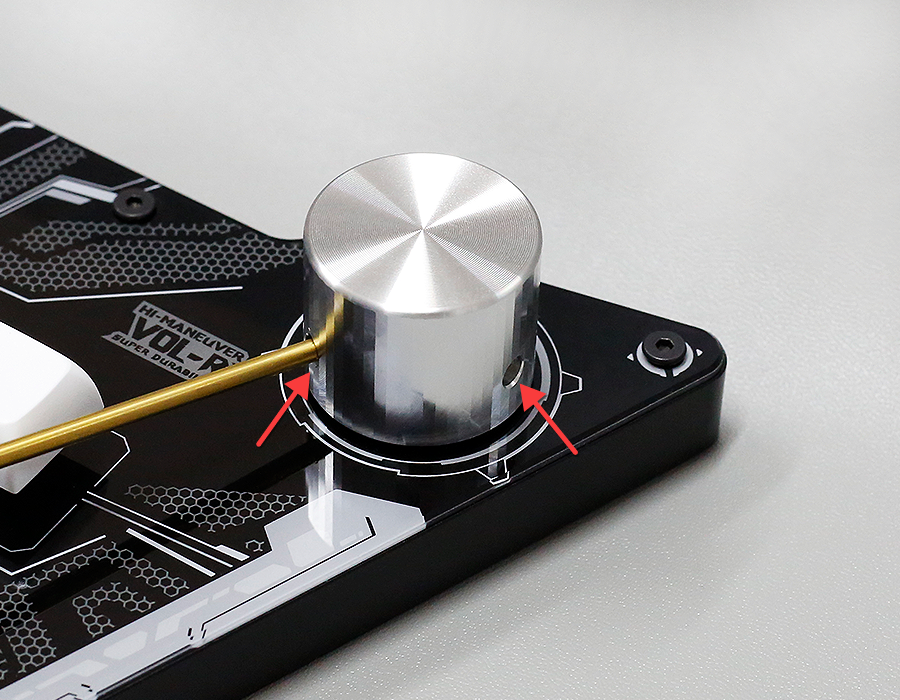
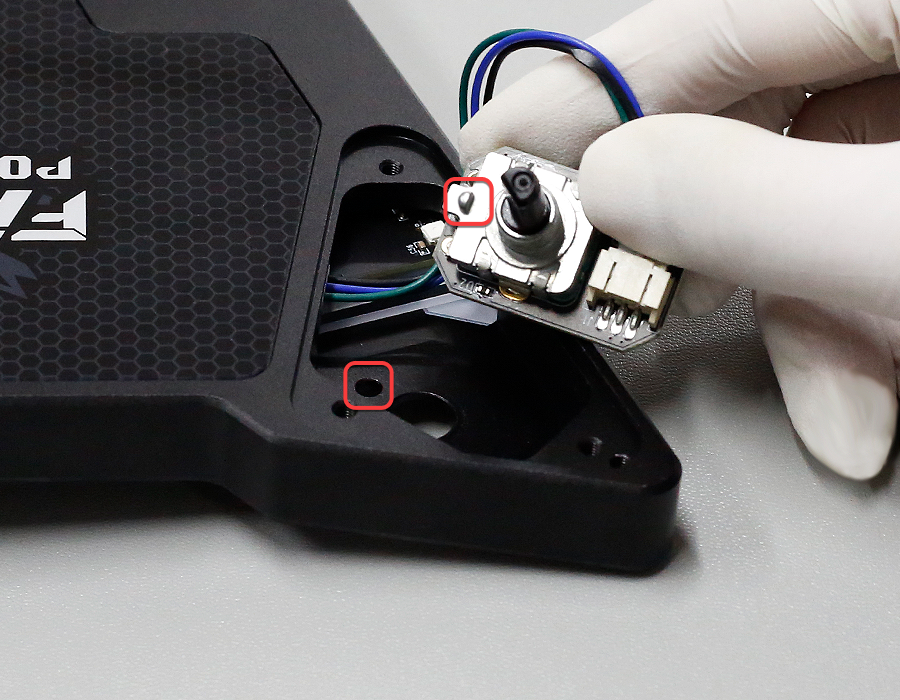
2 Note that there is a transparent gasket on the encoder, be careful to remove it.
3 Remove the 3 screws on the bottom.
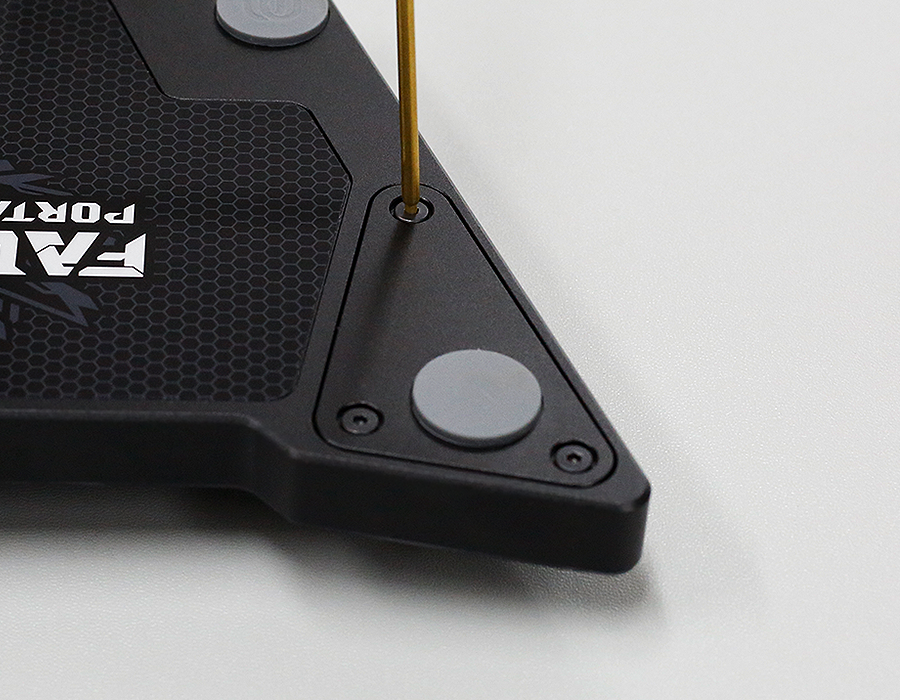
4 Use pliers to loosen the screws
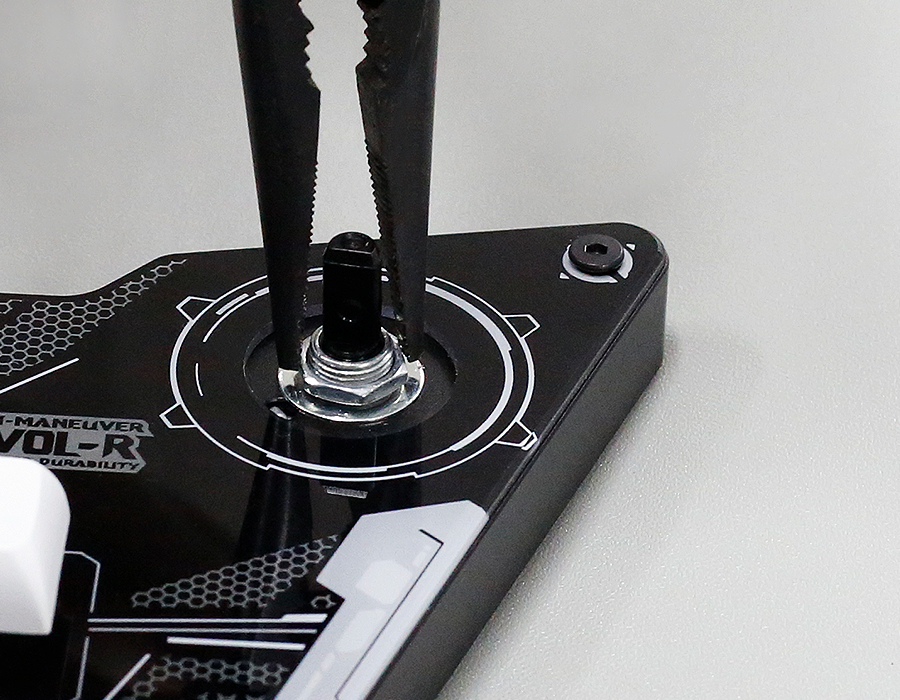
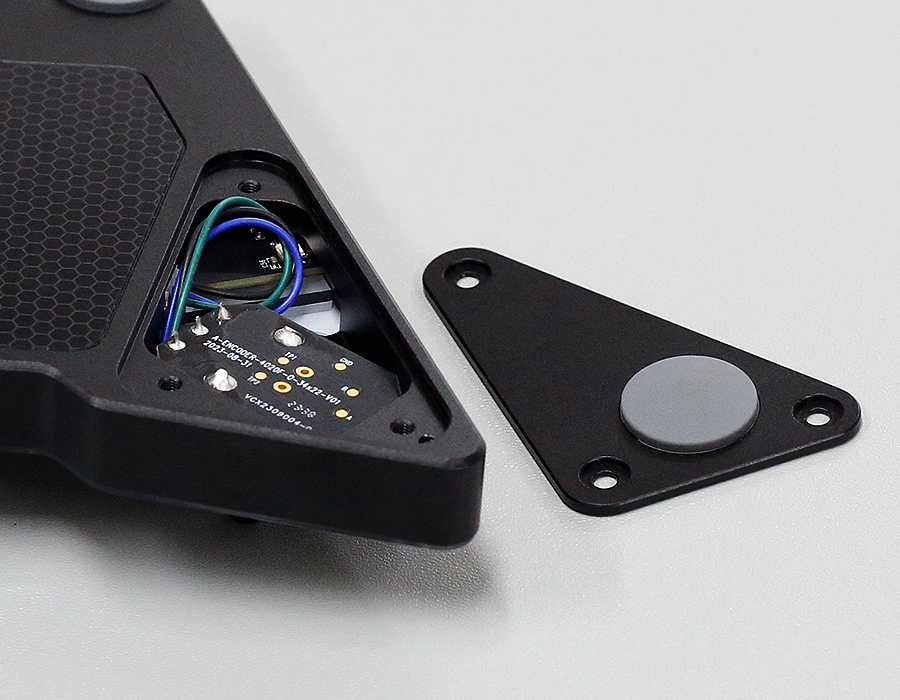
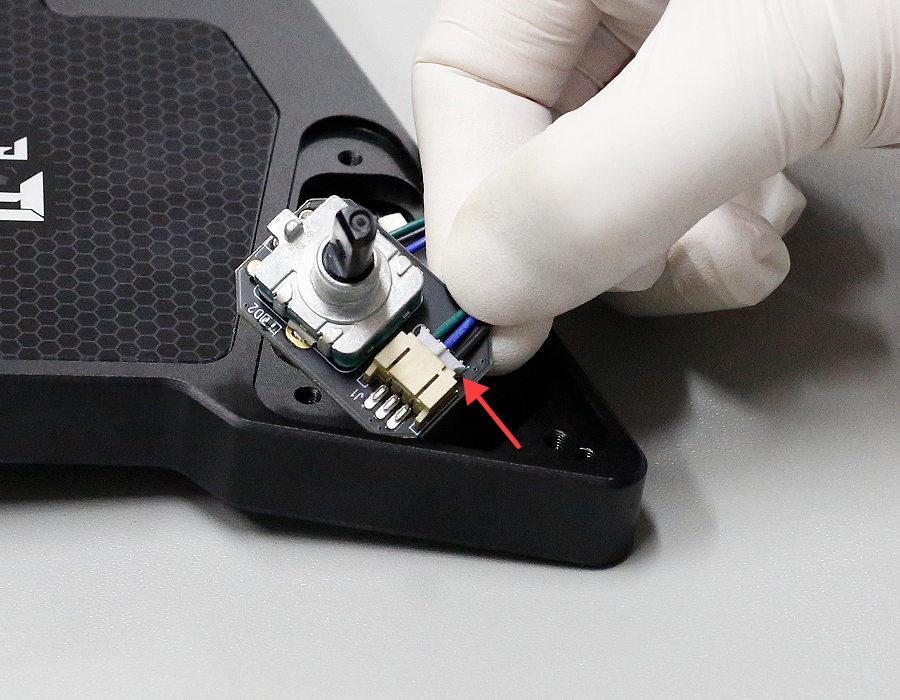
5 Remove the 3PIN cable and replace it with a new encode
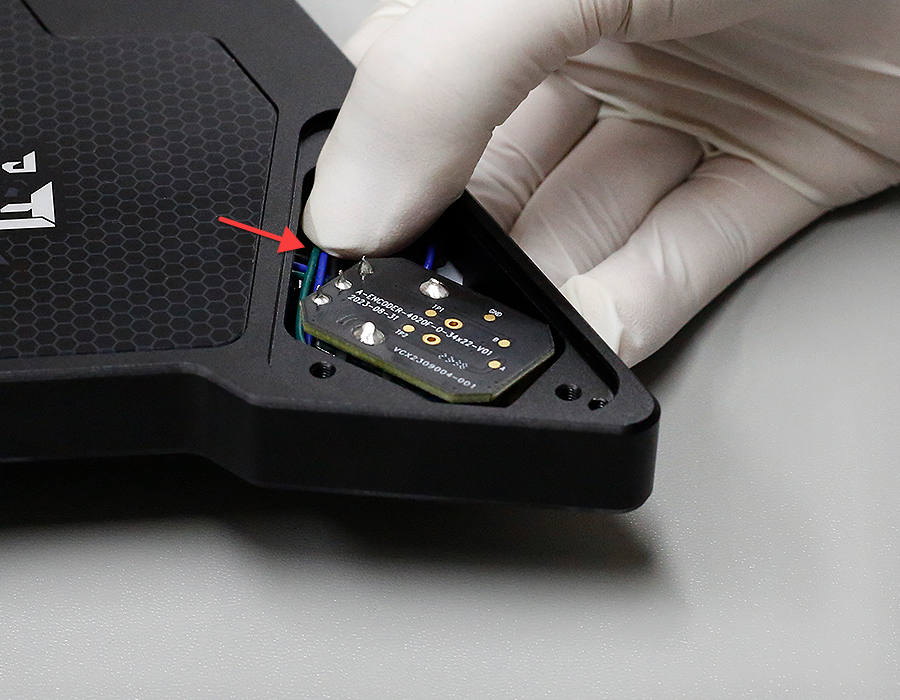
6 When reinstalling, be sure to press the wires under the circuit board
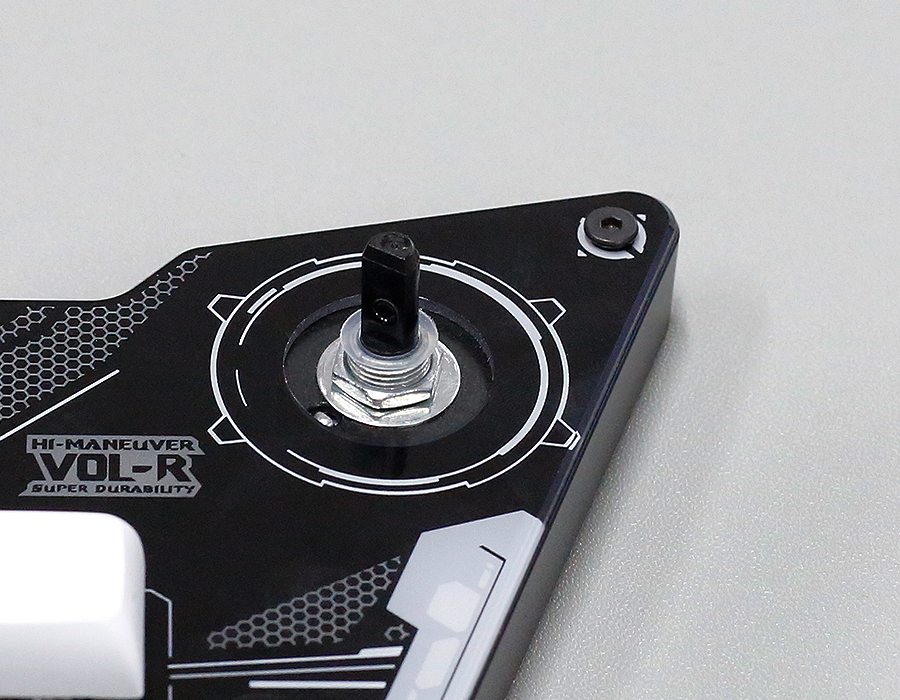
7 Use the metal gasket and nut to reinstall the encoder, placing the transparent gasket at the top
8 There is a top screw that can be seen inside the knob, which corresponds to the D-head of the encoder shaft for ease of installation.
The most important thing:
When tightening the knob screw, if you feel it being pushed, just tighten it 1/4 turn. Otherwise, the plastic shaft of the encoder will be damaged.